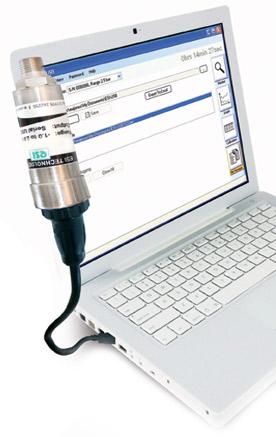
 Calibrating a pressure transducer is an essential process to ensure its accuracy and reliability in measuring pressure. The specific steps for calibration can vary depending on the type and model of the transducer, as well as the equipment and standards available to you.
Note: Always refer to the manufacturer’s instructions and documentation for your specific sensor pressure transducer model, as they may have unique calibration procedures.
- Gather Equipment and Tools:
- Pressure calibration source (pressure generator)
- Calibration manifold (if needed)
- Pressure gauges (reference standards)
- Calibration software or data acquisition system
- A stable and clean test environment
- Prepare the Transducer:
- Make sure the transducer is clean and free from any debris or contaminants.
- Ensure that the transducer’s electrical and mechanical connections are secure.
- Establish Calibration Bench Setup:
- Set up the pressure calibration source and connect it to the transducer using suitable tubing and fittings. Use a calibration manifold if necessary.
- Connect the reference pressure gauge(s) to the calibration source.
- Stabilize Environment:
- Ensure the environment where you are calibrating is stable in terms of temperature and humidity. Any variations can affect calibration accuracy.
- Record Transducer Data:
- Note the initial electrical output (usually in millivolts or volts) of the pressure transducer at a specific pressure point if this information is available.
- Calibrate:
- Apply a known pressure to the transducer using the pressure calibration source. This pressure should cover the entire measurement range of the transducer.
- Record the transducer’s output at each pressure point.
- Compare the transducer’s output to the reference standard(s) and calculate the error. Adjust for any deviation from the expected values.
- Adjustment:
- If the transducer’s output deviates from the expected values, make adjustments as necessary. Some transducers have zero and span adjustments to calibrate their output.
- Documentation:
- Keep detailed records of the calibration process, including the applied pressures and the transducer’s output at each point.
- Final Verification:
- Verify the transducer’s performance after calibration by applying test pressures and comparing the output to the reference standard.
- Certify and Label:
- If the transducer meets the required accuracy, you can certify it as calibrated and label it with the calibration date and due date for the next calibration.
