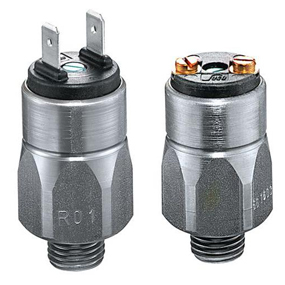
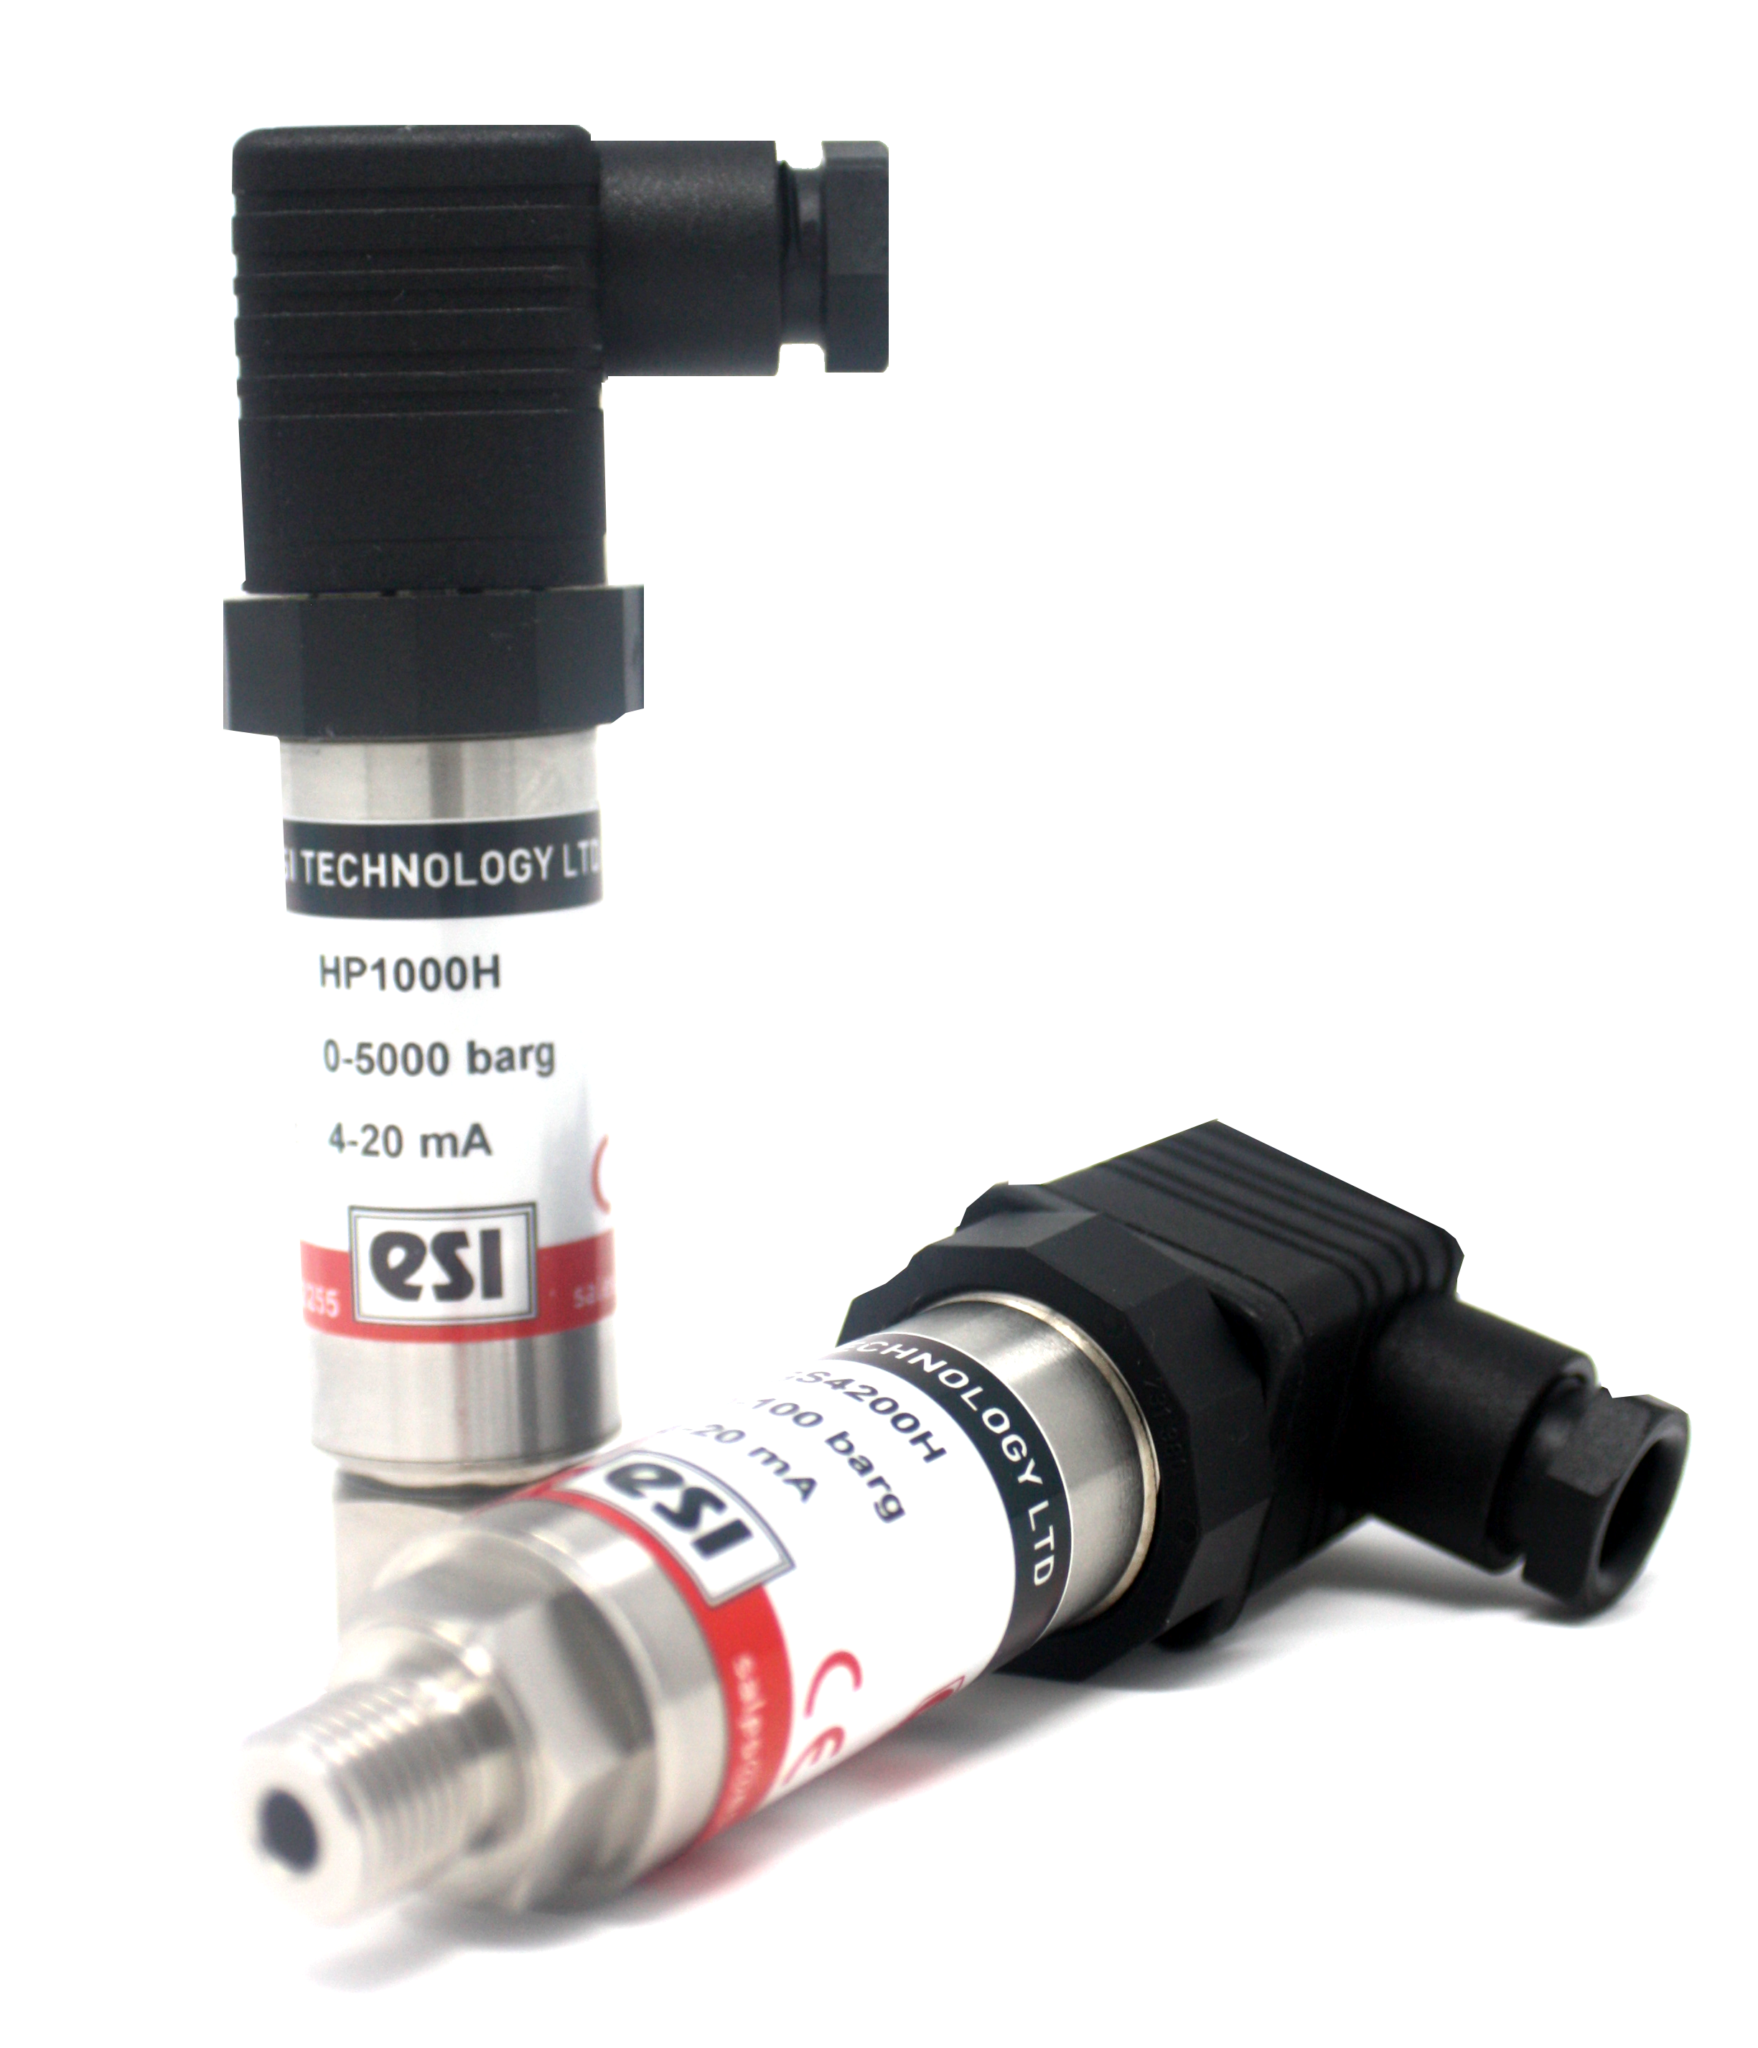
Adjusting a pressure switch typically involves setting the switch to activate or deactivate at specific pressure levels. Pressure switches are commonly used in various applications, such as controlling pumps, compressors, and other equipment. Here’s a general guide on how to adjust a pressure switch:
Important Note: Before attempting to adjust a pressure switch, ensure that you have the necessary safety precautions in place, such as turning off power to the equipment and depressurizing the system if necessary. Additionally, cons ult the manufacturer’s instructions or specifications for your specific pressure switch, as the adjustment procedure may vary.
- Turn Off Power: Always start by disconnecting the power supply to the equipment where the pressure switch is installed.
- Identify the Pressure Switch: Locate the pressure switch on your equipment. It is usually a small box-shaped device with electrical connections and pressure ports.
- Access Adjustment Screws: Depending on the design of your pressure switch, there may be one or more adjustment screws. These screws are typically labeled “cut-in” and “cut-out” or “range” and “differential.”
- Cut-In Pressure: This is the pressure level at which the switch will turn on the equipment.
- Cut-Out Pressure: This is the pressure level at which the switch will turn off the equipment.
- Range: Some pressure switches have a single adjustment screw to set both cut-in and cut-out pressures.
- Differential: This is the difference between the cut-in and cut-out pressures.
- Determine Desired Settings: To adjust the pressure switch, you need to know the desired cut-in and cut-out pressures for your specific application. Consult specifications for this information.
- Adjust the Cut-In Pressure:
- Using a screwdriver, turn the appropriate adjustment screw clockwise to increase the cut-in pressure or counterclockwise to decrease it.
- Turn the screw gradually while monitoring the pressure gauge connected to the system until it reaches the desired cut-in pressure.
- Adjust the Cut-Out Pressure:
- If your pressure switch has a separate adjustment screw for cut-out pressure, repeat the process with the “cut-out” adjustment screw.
- Turn it clockwise to increase the cut-out pressure or counterclockwise to decrease it.
- Set the Differential (if applicable):
- Some pressure switches allow you to adjust the differential pressure. This is the difference between the cut-in and cut-out pressures. Adjust it if needed.
- Test the Settings: Reapply power to the equipment and monitor its operation. Ensure that it starts and stops at the desired pressures.
- Fine-Tune (if necessary): If the settings are not exactly as desired, make small adjustments as needed, repeating the testing process until the switch operates correctly.
- Secure Adjustment Screws: Once you have achieved the desired settings, securely tighten any locking mechanisms or set screws to prevent accidental changes.
Always follow safety guidelines and manufacturer’s instructions when adjusting a pressure switch to ensure safe and proper operation. If you are unsure or uncomfortable with the process, consider consulting our expert technicians at SUCO ESI North America / Call us today at 561-989-8499
Let us offer the pressure switch or pressure transducer that best fits your application. Email us: sales@sucoesi.com


